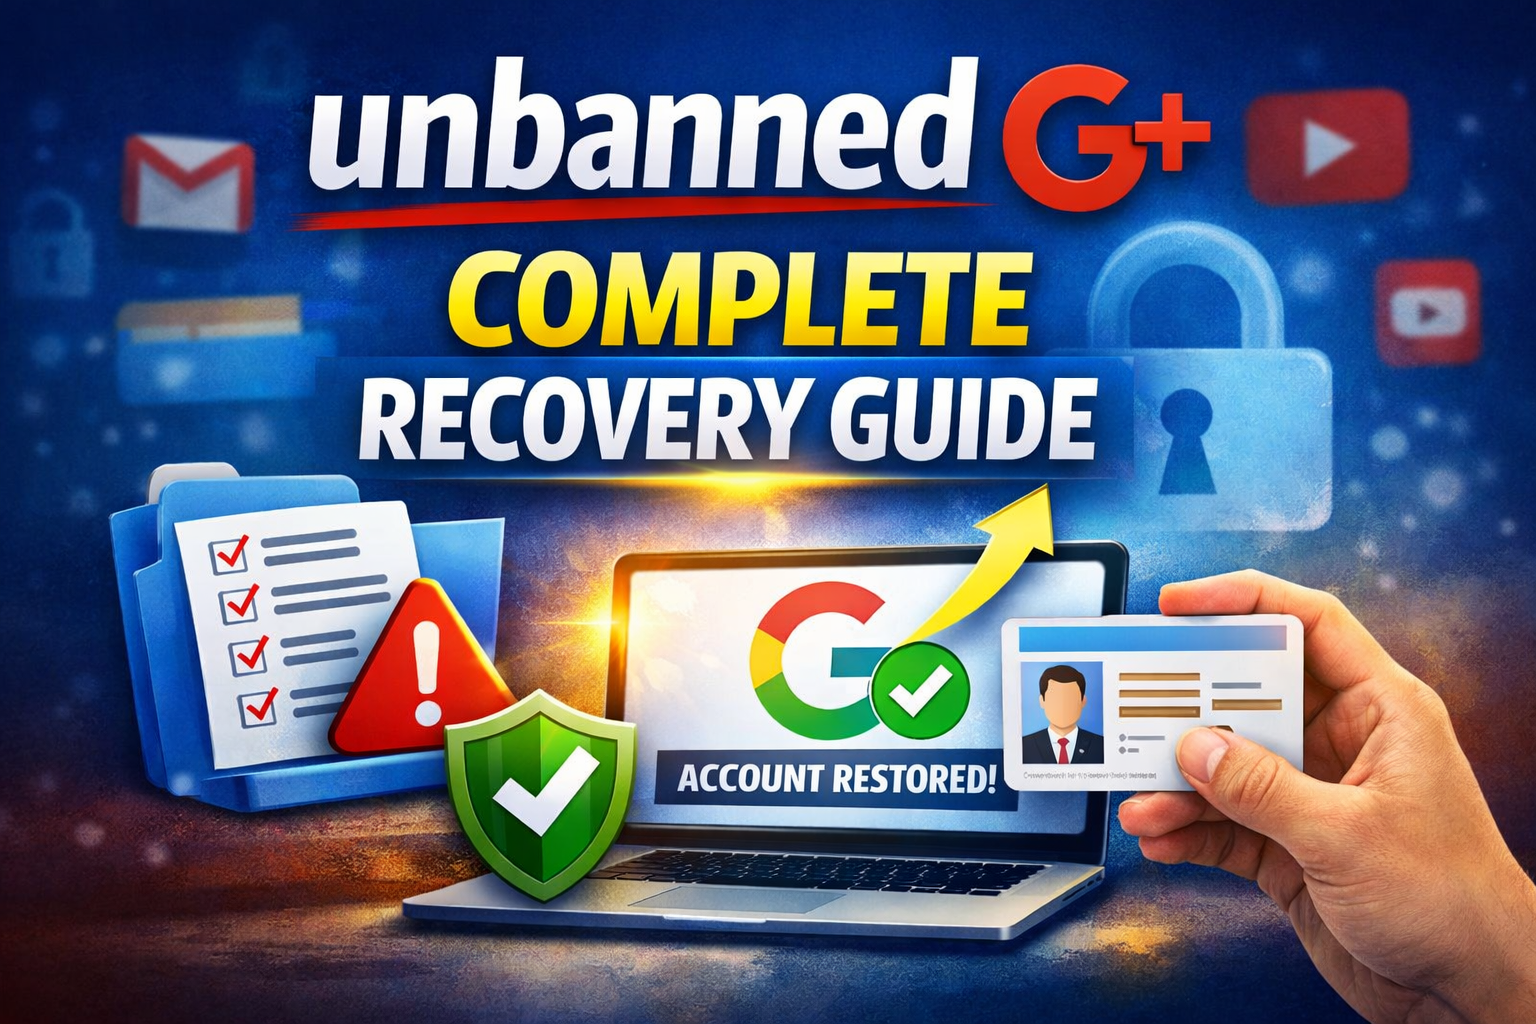
Google+ may be gone as a social network, but many users still rely on Google accounts for YouTube, Gmail, Drive, and other services. If your account has been suspended or banned, it can feel frustrating and confusing. The good news? Getting your account unbanned is often possible if you follow the right steps. This complete recovery guide will walk you through everything you need to know to get your Google account back safely and efficiently.
Understanding Why Google Accounts Get Banned
Before you try to get your account unbanned, it’s crucial to understand why Google may have suspended it. Common reasons include:
- Violation of Terms of Service – Using your account for activities Google considers illegal, unsafe, or inappropriate.
- Spamming – Sending unsolicited messages or posting repetitive content can trigger a ban.
- Suspicious Activity – Logging in from multiple locations or devices at the same time can make Google temporarily freeze your account.
- Fake Information – Using a false name, birth date, or other identity details can be grounds for suspension.
- Copyright or Intellectual Property Violations – Posting copyrighted content without permission may result in a ban.
Knowing the reason behind your ban can help you craft a more effective appeal and prevent future problems.
Step 1: Stay Calm and Avoid Panic
When you find out your account is banned, it’s easy to panic and try every recovery method at once. Avoid this. Google’s system is designed to detect suspicious behavior, and rushing multiple appeals or using third-party tools can make things worse.
Instead:
- Read Google’s notification carefully.
- Take note of any error codes.
- Make sure you have access to the email associated with the account (even a recovery email or phone number).
Step 2: Check Your Google Account Status
Visit Google Account Help to confirm the exact status of your account. Sometimes, accounts are only temporarily suspended, which means you may only need to wait or verify your identity.
You may see one of these messages:
- “Account suspended”
- “Account disabled”
- “Action required to restore your account”
Understanding your account’s current state helps you follow the right recovery process.
Step 3: Start the Official Google Appeal Process
Google provides a formal appeal process for banned accounts. Here’s how to start:
- Go to the Account Recovery Page: Visit Google Account Recovery.
- Enter Your Email: Type in the email address of the banned account.
- Follow the Prompts: Google may ask you to verify your identity using a phone number or secondary email.
- Write an Appeal: If prompted, submit a clear, honest appeal.
Tips for a strong appeal:
- Be polite and concise. Avoid blaming Google.
- Clearly explain why you believe the ban is a mistake.
- Include relevant account details (e.g., email, recovery info) but never share passwords.
- Mention any steps you’ve taken to correct the issue (like removing offending content).
Step 4: Verify Your Identity
Identity verification is one of the most important steps in recovering a banned account. Google may ask for:
- Phone verification (a text or call with a code)
- Recovery email confirmation
- Uploading an official ID (if necessary)
Make sure the information you provide matches the details on your Google account. Inconsistent data can delay or block recovery.
Step 5: Wait for Google’s Response
After submitting your appeal, patience is key. Google may take 24–72 hours or longer to respond, depending on the complexity of the issue.
Important:
- Do not submit multiple appeals in a short period.
- Avoid using third-party “unban tools” — many of them are scams.
While waiting, double-check your recovery email and keep an eye on spam folders. Google’s reply may end up there.
Step 6: Secure Your Account Post-Recovery
Once your account is reinstated, it’s essential to prevent future bans. Follow these steps:
- Enable Two-Factor Authentication (2FA) – Adds a second layer of security.
- Review Google’s Terms of Service – Make sure you fully understand what activities are allowed.
- Remove Suspicious Apps – Check third-party apps connected to your account and revoke access for anything untrusted.
- Change Your Password – Use a strong, unique password for your Google account.
- Backup Your Data – Consider downloading important emails, photos, or files to avoid loss in the future.
Step 7: Learn from the Experience
Getting banned is frustrating, but it can also be a learning opportunity. Common takeaways:
- Avoid spamming or excessive automation.
- Stick to verified content sources.
- Always keep your account information accurate.
By applying these lessons, you can reduce the risk of future suspensions.
Common Myths About Getting Unbanned
There’s a lot of misinformation online. Here’s the truth:
- ❌ Myth: Paying for “unban services” guarantees recovery.
✅ Truth: Google will never charge you for account recovery. - ❌ Myth: Creating a new account solves the problem.
✅ Truth: If the ban was due to violations, new accounts may also get flagged. - ❌ Myth: Social media posts or complaints force Google to unban.
✅ Truth: Only official appeals via Google’s process are effective.
Final Thoughts
Recovering a banned Google account may seem daunting, but it’s absolutely possible if you follow the right steps. The key is understanding the reason for the ban, submitting a clear appeal, and staying patient.
This unbanned g+ complete recovery guide has outlined every step from identifying the problem to securing your account afterward. By following it carefully, you maximize your chances of a successful recovery and protect your account for the future.
Remember, Google’s systems are strict but fair. Stay honest, be thorough, and you’ll likely see your account restored.